Restaurant booking apps are an increasingly popular way for restaurants to connect with customers. They allow users to browse menus, book tables and pay online. This tutorial will teach you how to create a restaurant booking app in React Native.
Hello, guys today here I am going to share about react native project and how to add components to some basic short-of-code information which I will try to explain in short how you can write code how you can test it and how you can deploy it.
Create a React Native Project.
Restaurant booking apps are a convenient way to book tables at restaurants without having to wait in line. It is also a great way to make sure that you get the table that you want. Restaurants can use these apps to promote themselves and their food, and customers can use them as an efficient way of finding restaurants near them.
To begin, open up Xcode and create a new project called “RestaurantBookingApp.” You should see something similar to what’s shown below.
Add Components.
Next, add the following components to your project: 1) A navigation bar at the top of the screen. 2) A header component that will contain the title of the app. 3) A search bar component.
Write Code.
Now let’s write code! First, open up the file called “App.js” in your favorite text editor. This file contains the main logic of our application. It should look something like this: import React, { Component } from’react’; import { StyleSheet, Text, View, Image, Button } from’react-native’; import { Constants } from ‘expo’;
Test it.
Let’s start by creating a new component called “RestaurantListView”. This will be used as the root view of our application. Create a new file called “Restaurants/RestaurantListView.js” and add the following code: import React,{Component} from’react’; import {StyleSheet,Text,View,Image,Button}from’react-native’; import Constants from ‘expo’;
Deploying a React Native App
To publish the expo app make sure that you app.json configuration are setup its looks like this:
{
        "expo": {
            "name": "App Name",
            "icon": "./path/to/your/app-icon.png",
            "version": "1.0.0",
            "slug": "app-slug",
            "sdkVersion": "XX.0.0",
            "ios": {
            "bundleIdentifier": "com.companyname.appname"
        },
        "android": {
        "package": "com.companyname.appname"
        }
        }
    }
There are many properties that you can add, but only three are required:
- name: The name of your app as it appears both within Expo and on your home screen as a standalone app.
- slug: The URL slug for publishing. For example, “app-name” refers to the expo.io/@username/app-name project.
- sdkVersion: The Expo sdkVersion to run the project. This should line up with the version specified in your package.json.
Once the app is ready and the configurations are set, follow these steps:
- Click the Publish button in Expo Dev Tools.to publish your project. If you’re using command line, run “expo publish”.
- You will get a link (like this: expo.io/@username/app-name) where two versions of the code will be generated for iOS and Android.
- Every time you update the app, you will need to publish it again, and the changes will be reflected right away and available to your users.
Deploy it.
Now let’s make sure our listview looks good. Add the following stylesheet to our project:
import { StyleSheet } from’react-native’;
const styles = StyleSheet.create({
container: {
Building Native Apps
- Run “expo build:android”.
- You will get the following message.
 No currently active or previous builds for this project.
	Would you like to upload a keystore or have us generate one for you?
	If you don't know what this means, let us handle it! :)
	1) Let Expo handle the process!
	2) I want to upload my own keystore!
- You can either upload your own keystore or have Expo generate one for you. If you choose to have Expo generate one for you, make sure to back it up as you will need it to submit any future updates of the app, and without it you won’t be able to update the app anymore.
- To back up the keystore, run “expo fetch:android:keystore”.
- Your Android app will now start building. You can check the status of the build by running “expo build:status”.
- Once your app has been built, you will be given a .apk URL of your Android app that you can download.Get 9 tips in restaurant app development
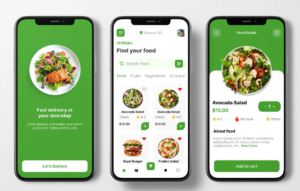
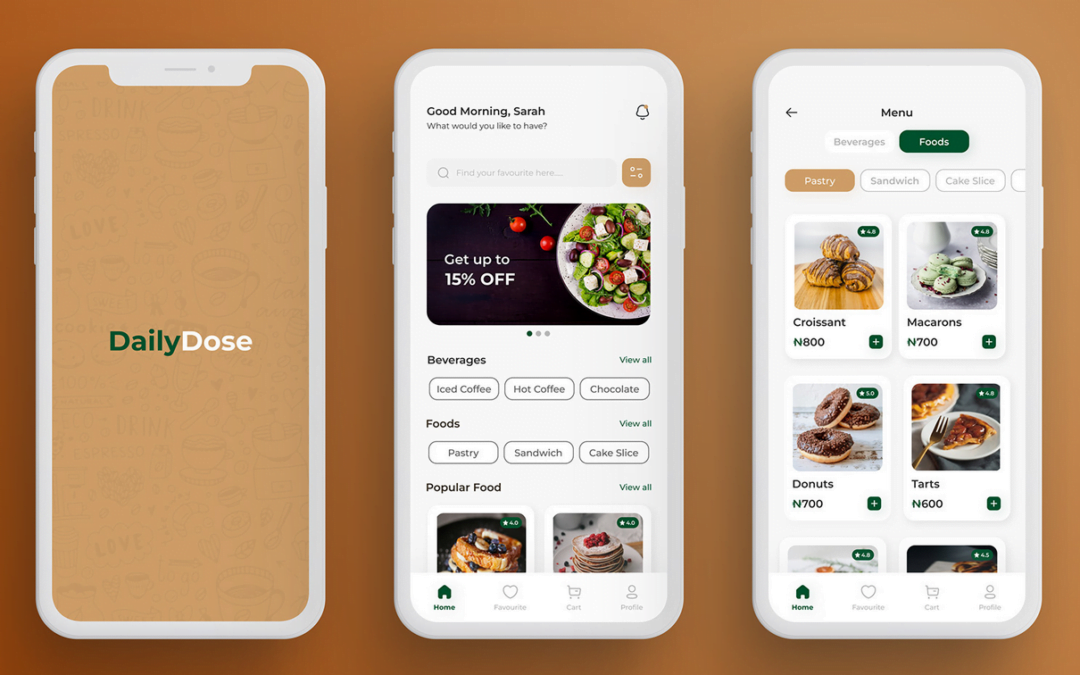
Restaurant booking app
Conclusion
Restaurant booking app have become a necessity for foodies who are always looking for the next best restaurant to visit. As more and more restaurants open up, it becomes increasingly difficult to find the perfect restaurant and make a reservation.
This is where these apps come in handy. They allow you to browse through menus, reviews, and the availability of tables and make reservations with just a couple of taps. Some of them even let you book tables in advance so that you can plan your entire day accordingly.
Solution:
To create your own custom restaurant booking app you can hire our certified developers who can help you with this. Visit At Appoks Infolabs